SPECIFICATIONS
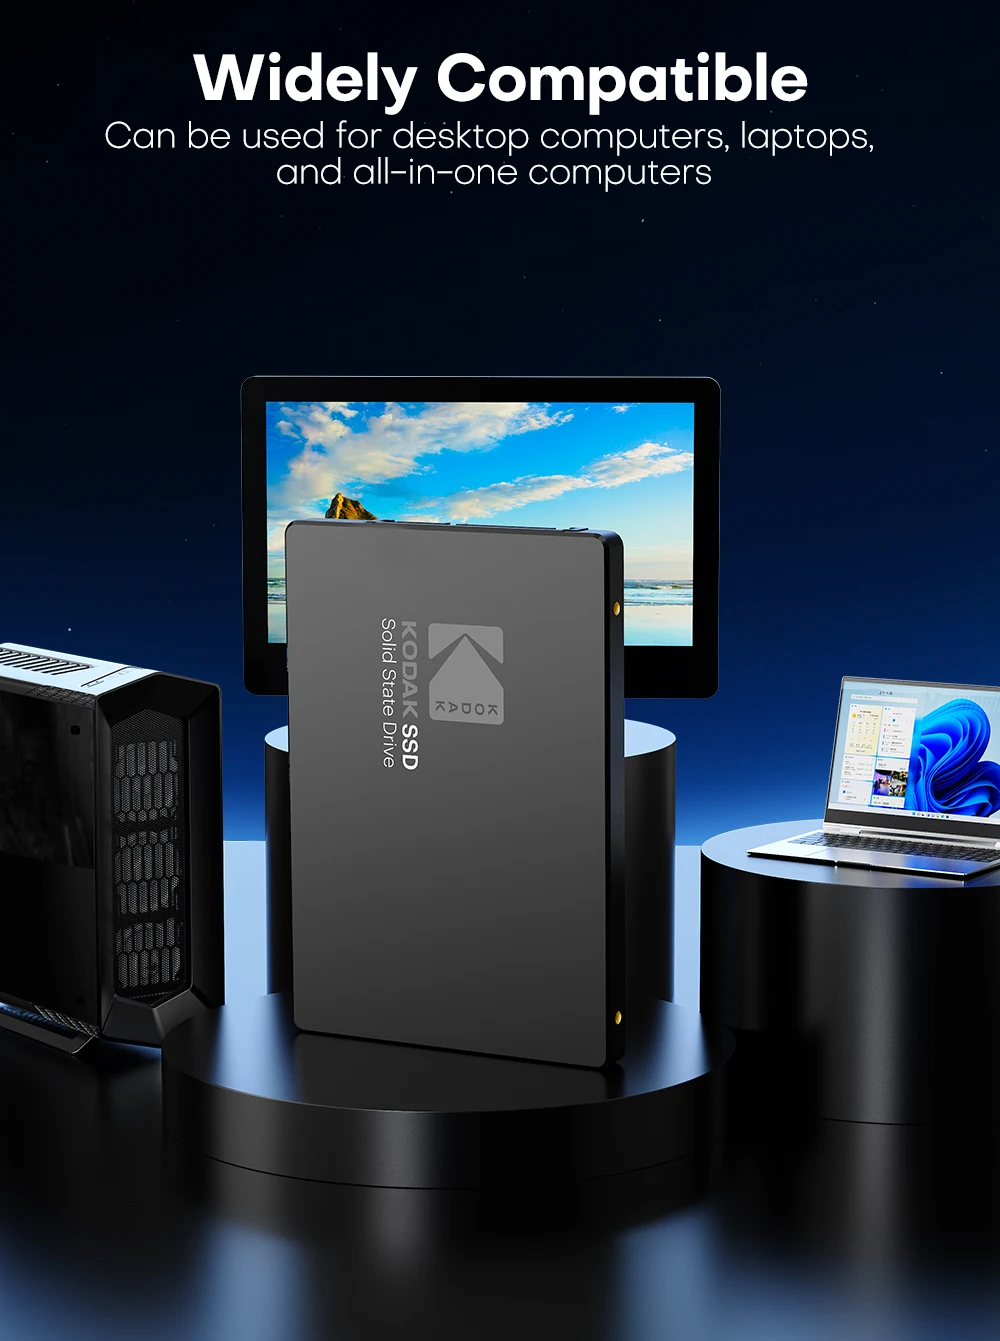
Application: Desktop,Laptop
Brand Name: Kodak
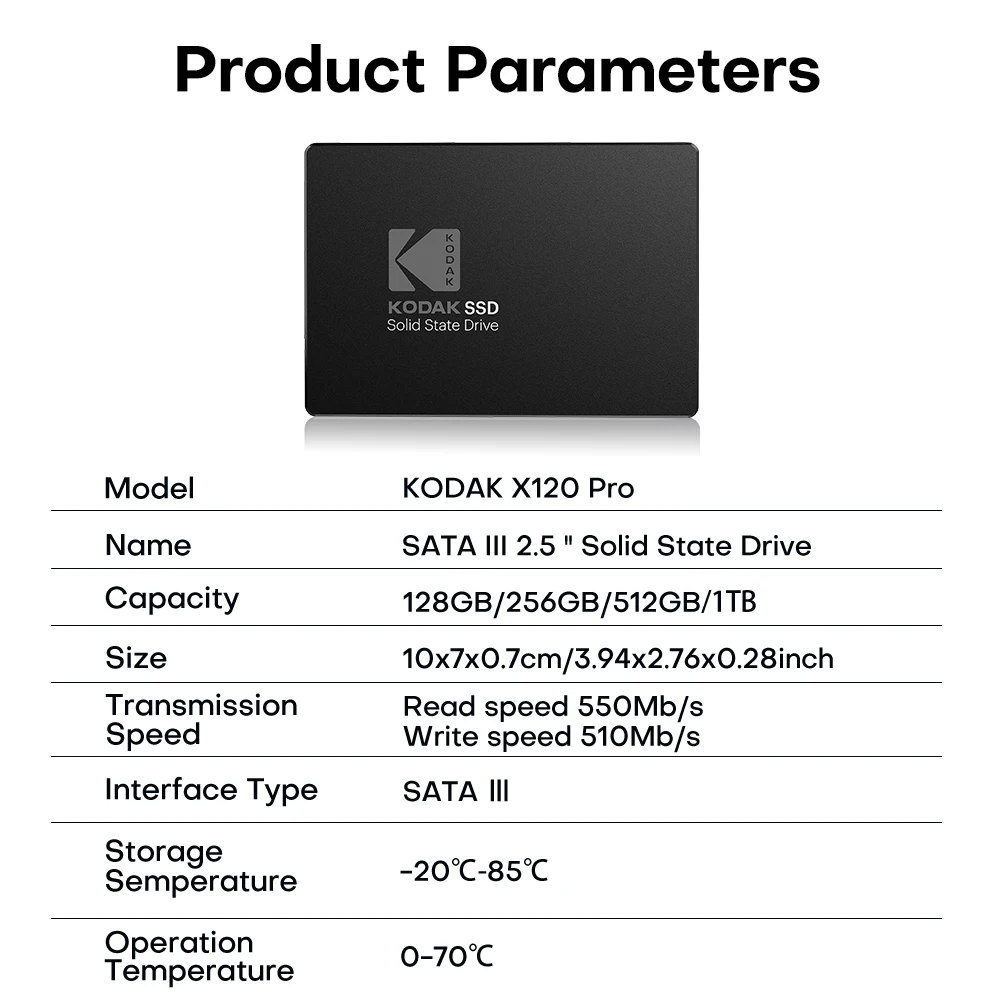
Bus Type: SATA III
Certification: CE
Choice: yes
Controller: SMI/Other
Cooling Fin: No
High-concerned chemical: None
Interface Type: SATA,SATAII,SATAIII
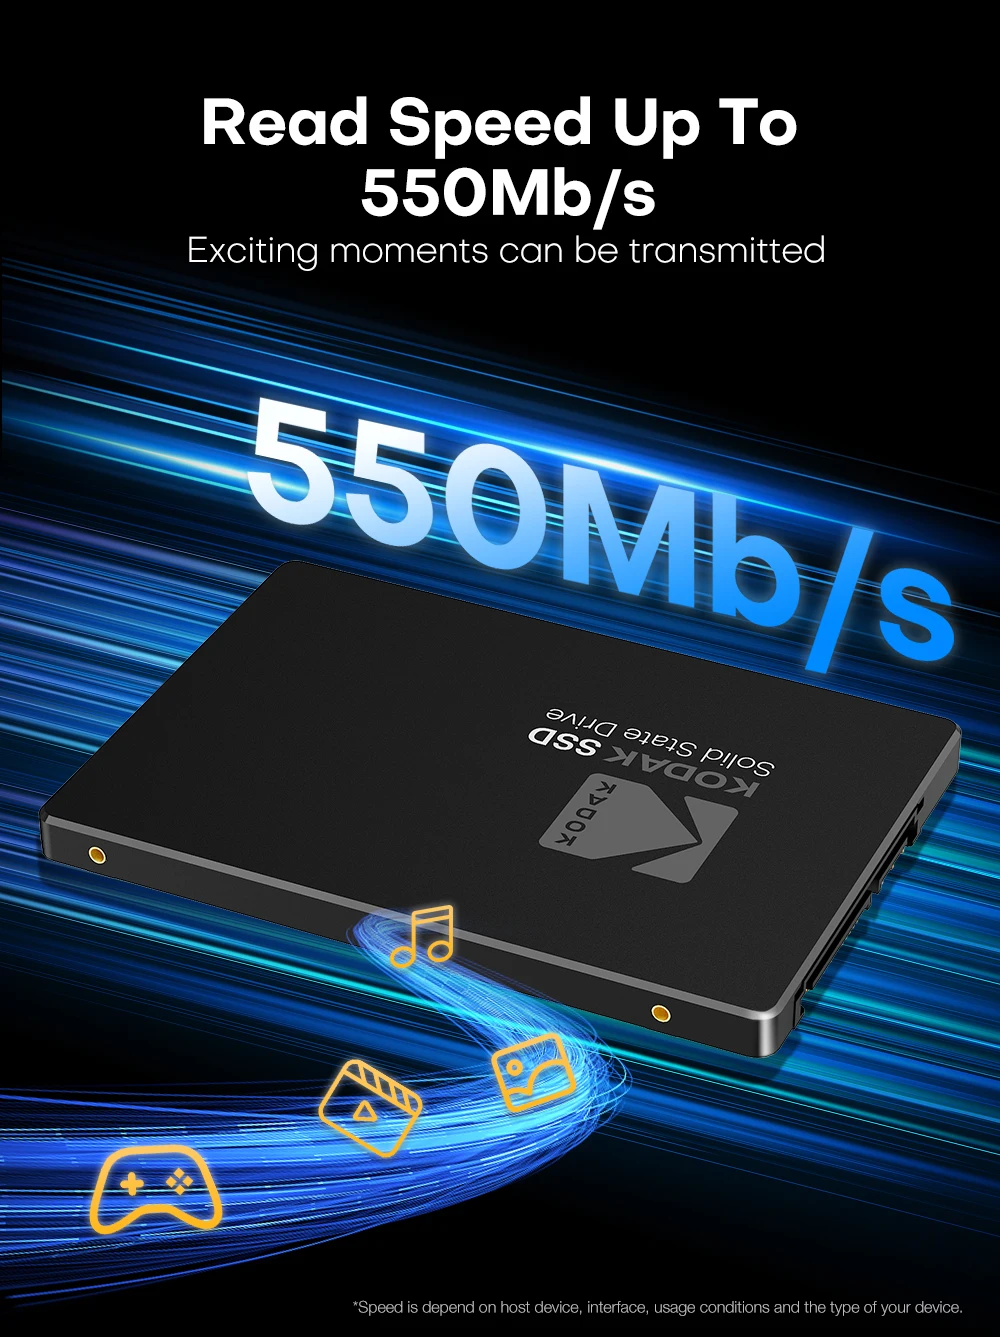
Max Sequential Read: 550
Max Sequential Write: 520
Nand Flash: TLC/QLC
Nand Flash Type: TLC
Origin: Mainland China
Package: Yes
RGB: No
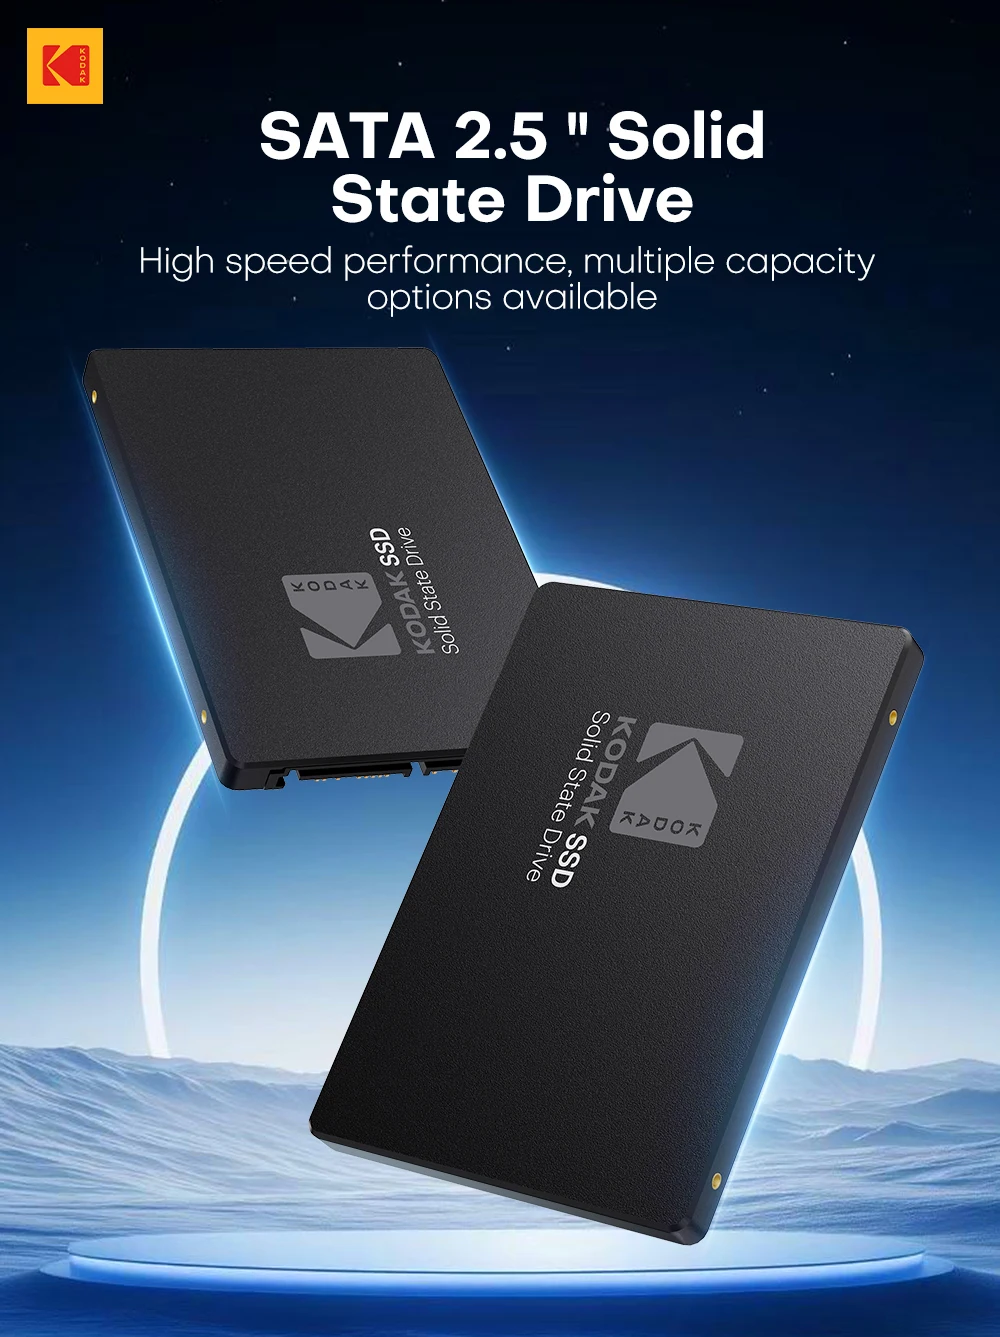
Size: 2.5"
Style: SSD
Transport Protocol: AHCI
Type: Internal
semi_Choice: yes
SSD Installation Guide for Desktop Computers
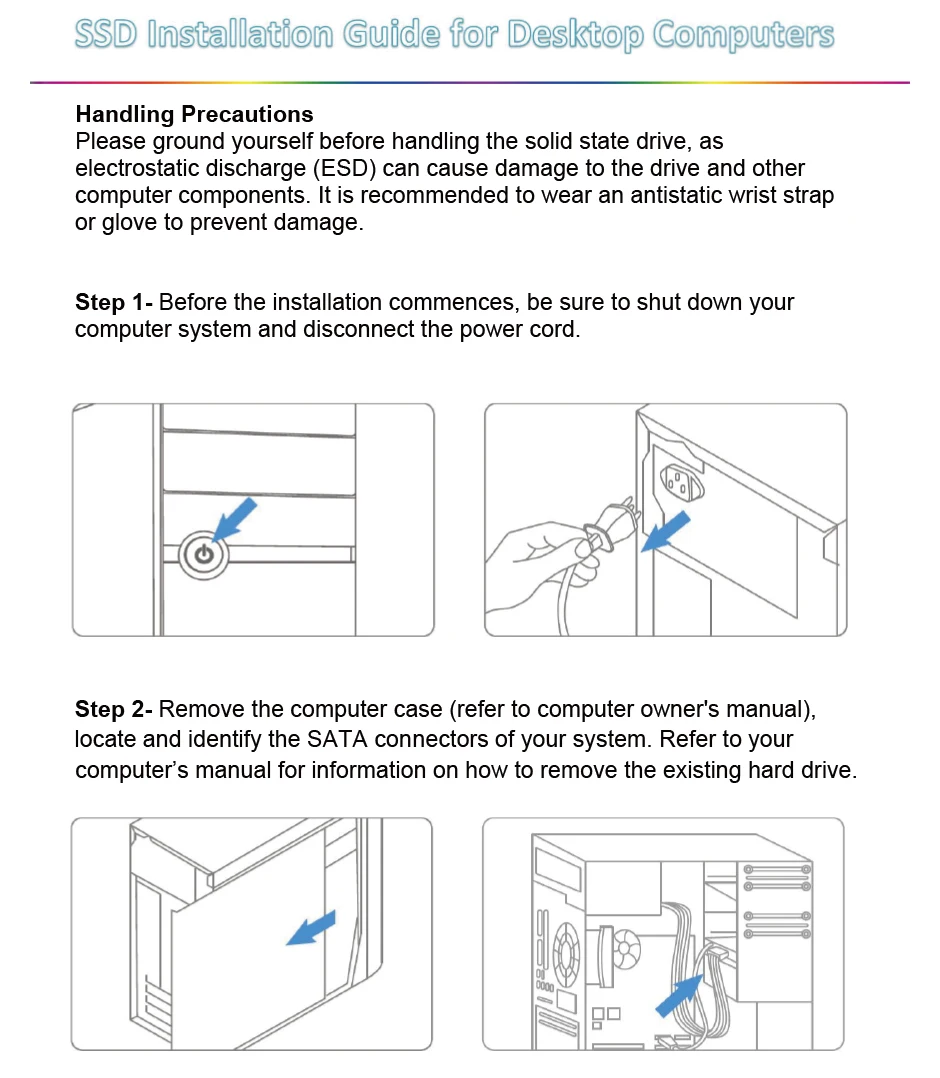
Handling Precautions
Please ground yourself before handling the solid state drive, as electrostatic discharge (ESD) can cause damage to the drive and other computer components. It is recommended to wear an antistatic wrist strap or glove to prevent damage.
Step 1: Prepare Your System
Before the installation commences, shut down your computer system and disconnect the power cord.
Step 2: Access and Prepare Drive Bay
Remove the computer case (refer to the computer owner's manual). Locate and identify the SATA connectors of your system. Refer to your computer's manual for information on how to remove the existing hard drive.
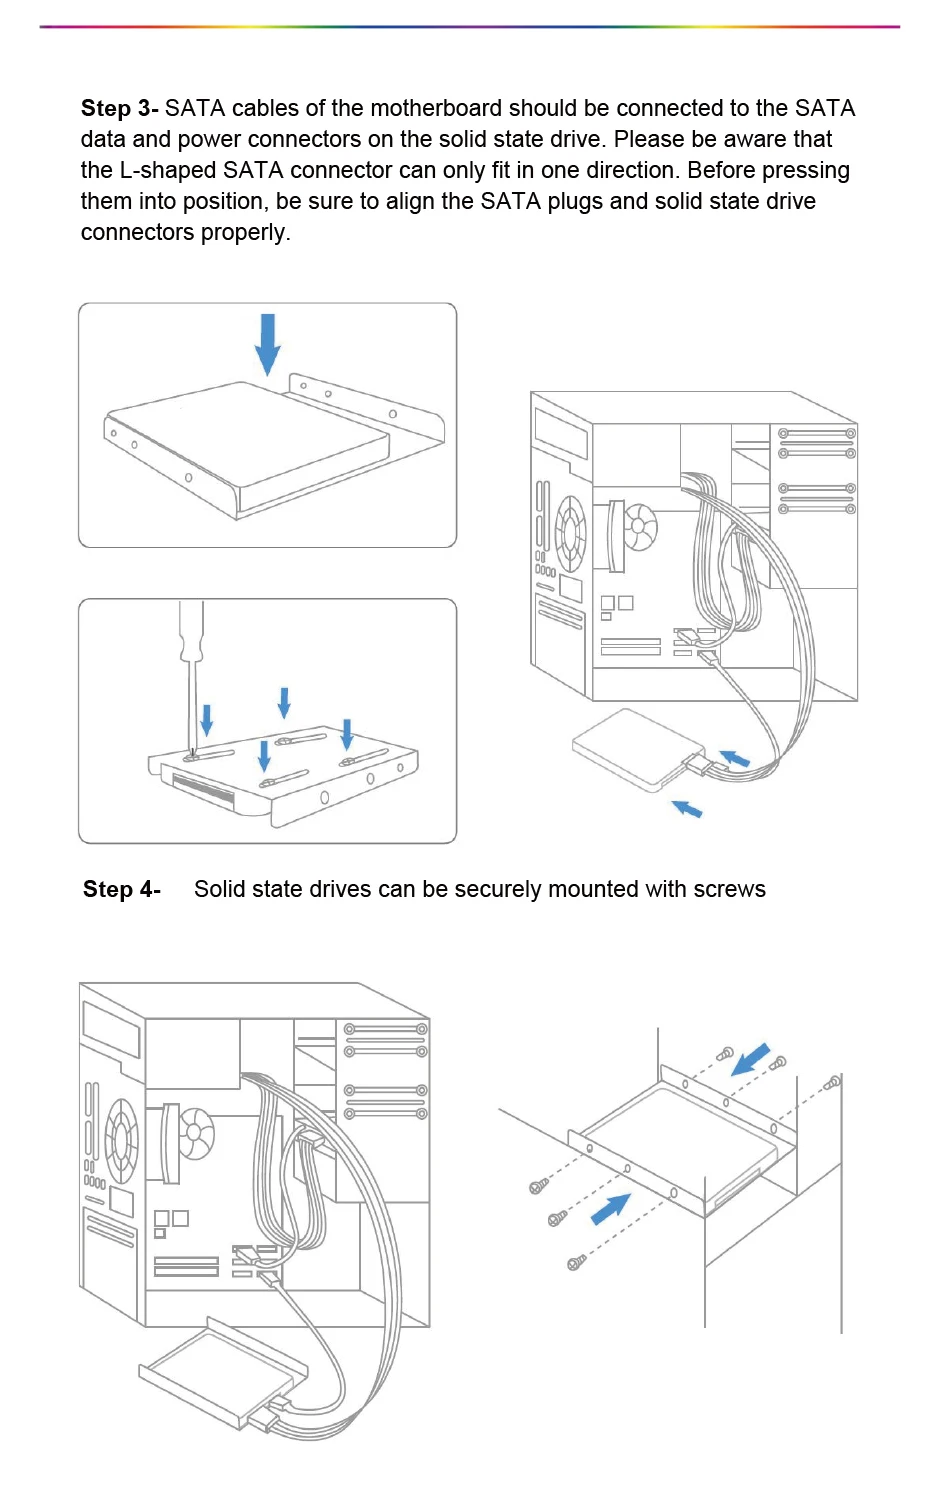
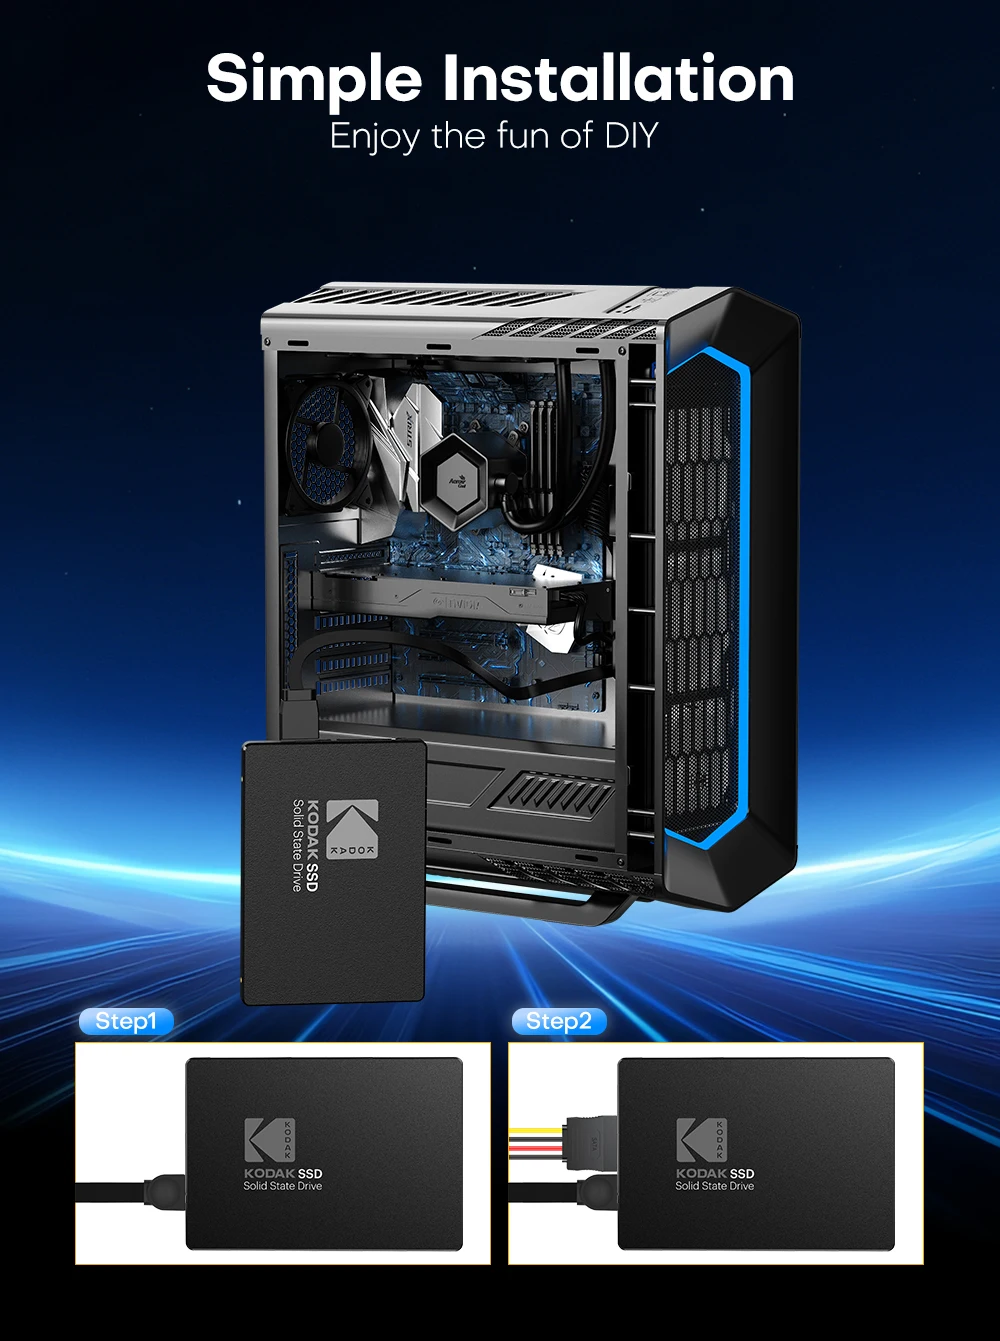
 Step 3: Connect Cables
SATA cables from the motherboard should be connected to the SATA data and power connectors on the solid state drive. Please be aware that the L-shaped SATA connector can only fit in one direction. Before pressing them into position, ensure you align the SATA plugs and solid state drive connectors properly.
Step 4: Mount the SSD
Solid state drives can be securely mounted with screws.
 Step 5: Reassemble and Power Up
After the installation is completed, restore the case to its original position and reconnect the power.
Step 6: Verify Installation
Turn on the computer to verify the installation. Step 7- Configure the BlOS and Partition the drive
A. Power on your computer system normally and follow the on-screen instruction during boot-up to proceed into the BIOS or CMOS configuration menu.
B. Select the Auto function in the BIOS/CMOS menu that represents the SSD. This will allow your system to auto-detect the disk.
C. Locate the SATA settings menu item and ensure the motherboard SATA ports are enabled.
D. To save new settings and exit the BlOS/CMOS setup menu, choose the Save and Exit option.
E. Reboot the system or device allowing the changes to take effect.
F. you are going to install an OS onto the SSD, please first delete the original partition before repartitioning the SSD during installation of the OS.
G. If you intend to install any backup tools, such as Acronis Migration Utility or others with your SSD, please format the drive prior to installation. Notebook Computer SSD Installation
1. Make sure your computer is powered off, the power cable is disconnected andthe battery is removed.
NOTE: You may want to keep your old hard disk drive as a backup drive.
2.Open your notebook computer's drive bay (refer to your computer's manual for instructions).
3. Remove any brackets or adapters attached to the current HDD and install them on your new Bliksem SSD in the same way as they were on your current HDD.(Note: This step may not apply to every install,not all notebook hard disk drives have additional brackets or adapters.)
4. Align the connector pins on your SSD with the pins on the SATA connector in the drive bay and carefully place the SSD into the drive bay.(Note: Be sure to firmly connect the SSD connector pins with the pins on the SATA connector in your notebook drive bay.)
5. Replace the notebook computer's drive bay.
6. Replace your battery and power cable, then power on your notebook computer.When your computer boots for the first time, you may see a screen indicating that the upgrade process is complete.
And that's it! Enjoy the speed of your new SSD!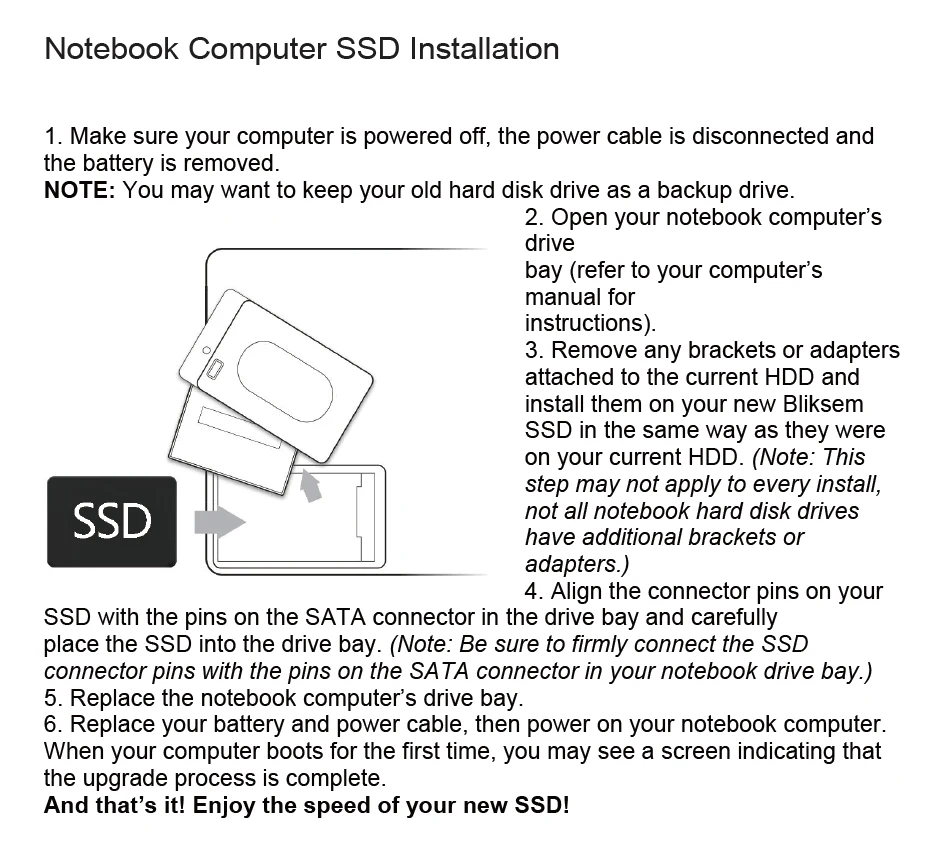
Feature :
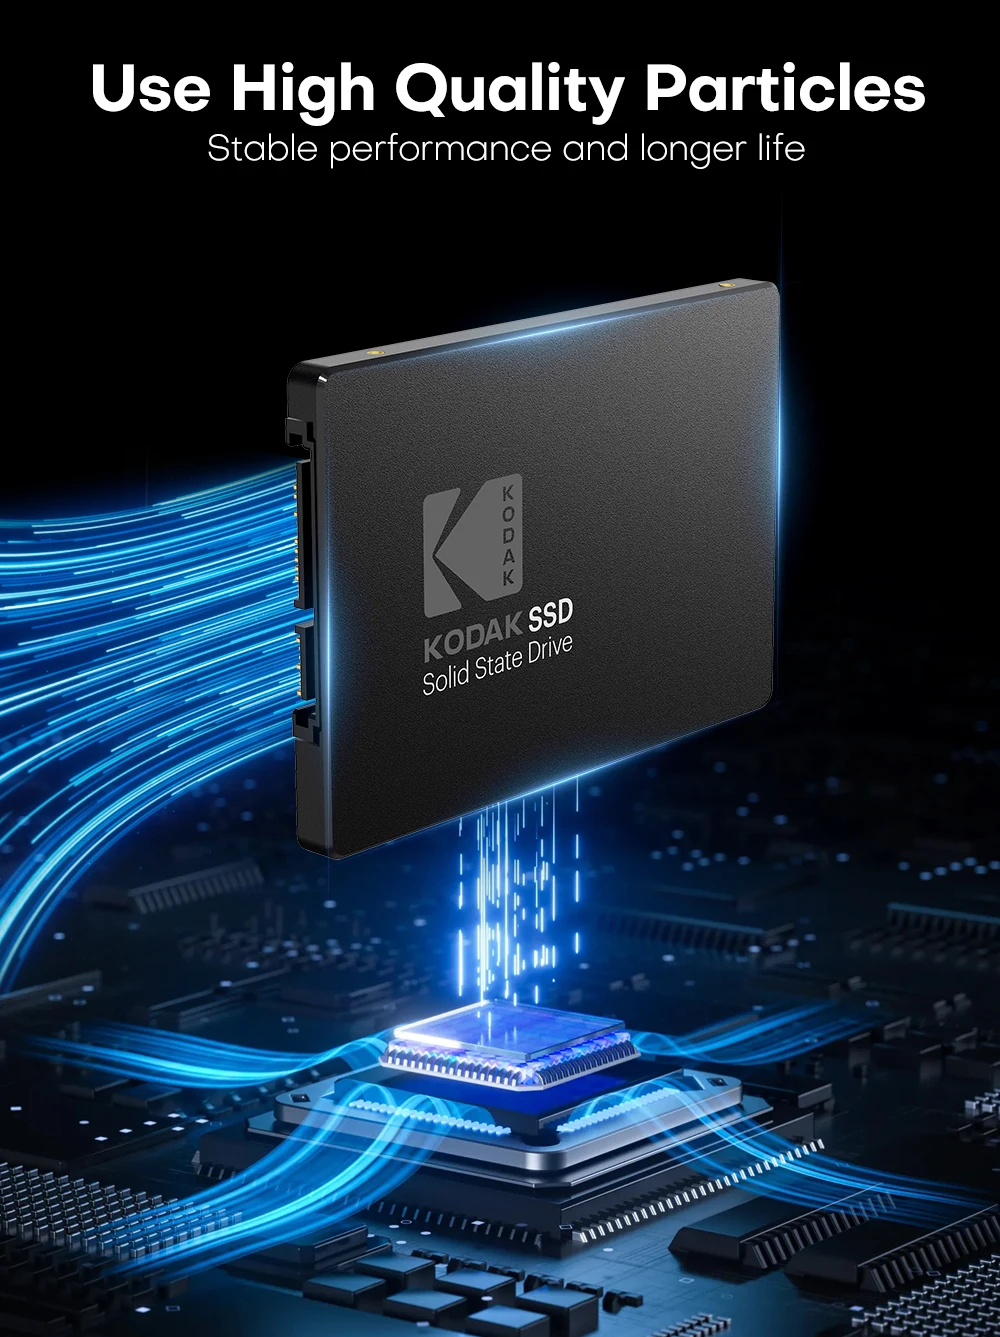
• TLC Nand Flash Type :The SSD uses TLC Nand flash type, which ensures high performance and reliability.
• SATA III Bus Type :With SATA III bus type, this SSD provides fast data transfer speeds and improved power efficiency.
• Support System: Windows 11 / 10 / 8 / 7 / Vista / XP / Vista, Linux v.2.6.x+, Chrome OS,c OS X
• Support Device: Computer/Laptop/Server
• About use: Need the necessary installation tools.
• Hardware Connectivity: SATA III 6.0 Gb/s, SATA II 3.0 Gb/s,SATA 1.5 Gb/s(compatible).
Safety: Dustproof,Shockproof.Fast heat dissipation
Weight: 34.3g. Size :100m*69.9mm*7mm
About capacity :
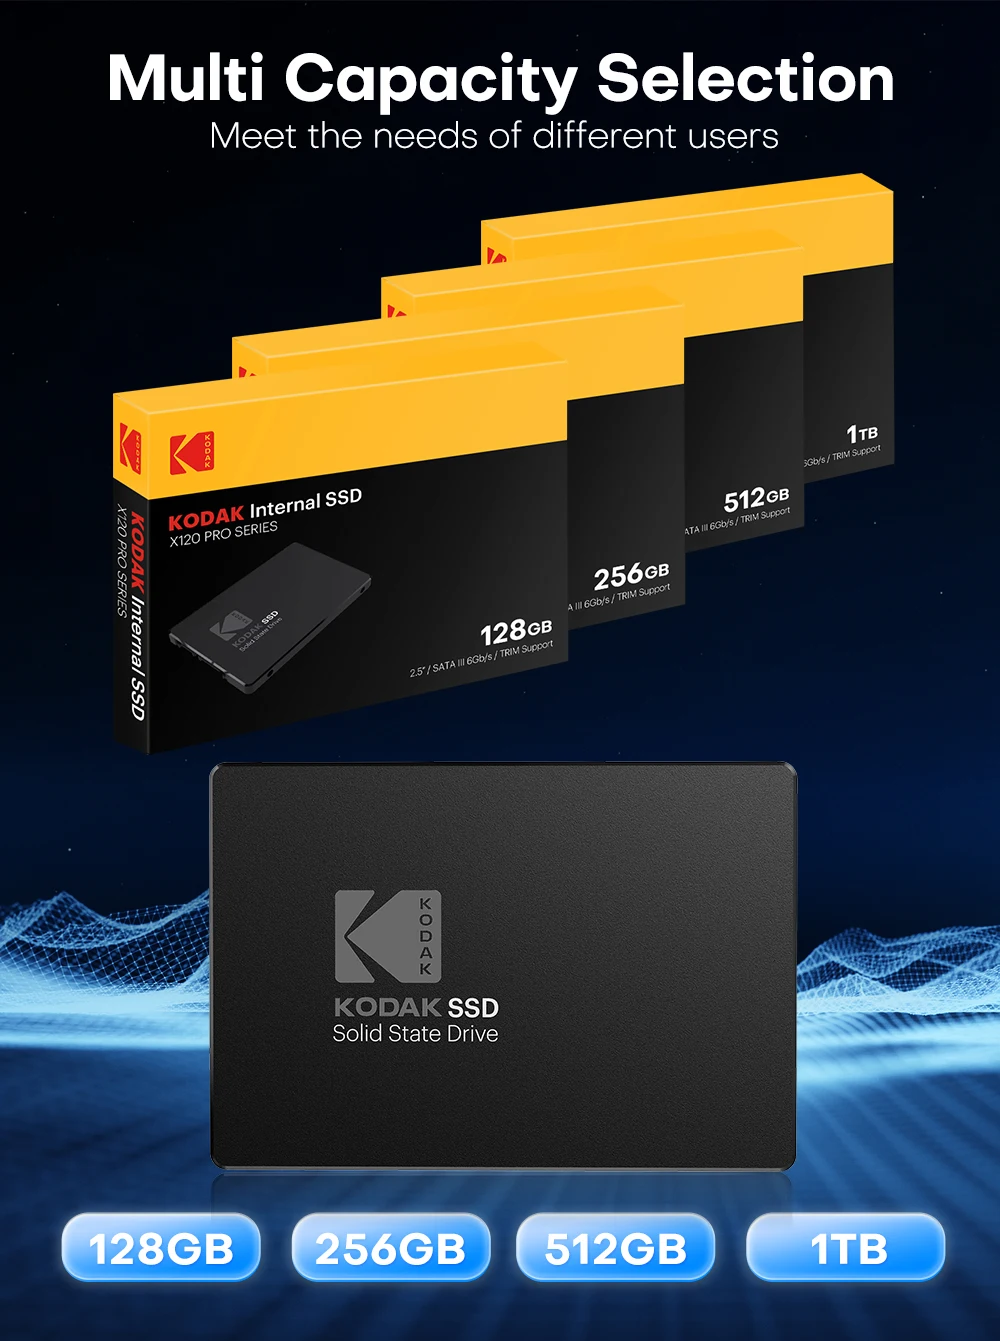
128GB Approximately 119 GB
256GB Approximately 238 GB
512GB Approximately 476 GB
1TB Approximately 930 GB
Vendors are using decimal arithmetic: 1MB = 1000KB, 1G = 1000MB calculated, but the operating system is using binary arithmetic: 1MB = 1024KB, 1GB = 1024MB. So there are some differences between display capacity and nominal capacity of flash memory products.
100% real capacity, via H2testw.(Please do not use cheap card reader or data cable to test the speed will be reduced due to low quality card reader or data cable.)
Notice:
1. Our Store offers 100% genuine products.
2. This products are in compliance with the Kodak official website.


SPECIFICATIONS
Application: Desktop,Laptop
Brand Name: Kodak
Bus Type: SATA III
Certification: CE
Choice: yes
Controller: SMI/Other
Cooling Fin: No
High-concerned chemical: None
Interface Type: SATA,SATAII,SATAIII
Max Sequential Read: 550
Max Sequential Write: 520
Nand Flash: TLC/QLC
Nand Flash Type: TLC
Origin: Mainland China
Package: Yes
RGB: No
Size: 2.5"
Style: SSD
Transport Protocol: AHCI
Type: Internal
semi_Choice: yes
SSD Installation Guide for Desktop Computers
Handling Precautions
Please ground yourself before handling the solid state drive, as electrostatic discharge (ESD) can cause damage to the drive and other computer components. It is recommended to wear an antistatic wrist strap or glove to prevent damage.
Step 1: Prepare Your System
Before the installation commences, shut down your computer system and disconnect the power cord.
Step 2: Access and Prepare Drive Bay
Remove the computer case (refer to the computer owner's manual). Locate and identify the SATA connectors of your system. Refer to your computer's manual for information on how to remove the existing hard drive.
Step 3: Connect Cables
SATA cables from the motherboard should be connected to the SATA data and power connectors on the solid state drive. Please be aware that the L-shaped SATA connector can only fit in one direction. Before pressing them into position, ensure you align the SATA plugs and solid state drive connectors properly.
Step 4: Mount the SSD
Solid state drives can be securely mounted with screws.
Step 5: Reassemble and Power Up
After the installation is completed, restore the case to its original position and reconnect the power.
Step 6: Verify Installation
Turn on the computer to verify the installation.Step 7- Configure the BlOS and Partition the drive
A. Power on your computer system normally and follow the on-screen instruction during boot-up to proceed into the BIOS or CMOS configuration menu.
B. Select the Auto function in the BIOS/CMOS menu that represents the SSD. This will allow your system to auto-detect the disk.
C. Locate the SATA settings menu item and ensure the motherboard SATA ports are enabled.
D. To save new settings and exit the BlOS/CMOS setup menu, choose the Save and Exit option.
E. Reboot the system or device allowing the changes to take effect.
F. you are going to install an OS onto the SSD, please first delete the original partition before repartitioning the SSD during installation of the OS.
G. If you intend to install any backup tools, such as Acronis Migration Utility or others with your SSD, please format the drive prior to installation.Notebook Computer SSD Installation
1. Make sure your computer is powered off, the power cable is disconnected andthe battery is removed.
NOTE: You may want to keep your old hard disk drive as a backup drive.
2.Open your notebook computer's drive bay (refer to your computer's manual for instructions).
3. Remove any brackets or adapters attached to the current HDD and install them on your new Bliksem SSD in the same way as they were on your current HDD.(Note: This step may not apply to every install,not all notebook hard disk drives have additional brackets or adapters.)
4. Align the connector pins on your SSD with the pins on the SATA connector in the drive bay and carefully place the SSD into the drive bay.(Note: Be sure to firmly connect the SSD connector pins with the pins on the SATA connector in your notebook drive bay.)
5. Replace the notebook computer's drive bay.
6. Replace your battery and power cable, then power on your notebook computer.When your computer boots for the first time, you may see a screen indicating that the upgrade process is complete.
And that's it! Enjoy the speed of your new SSD!
Feature :
• TLC Nand Flash Type :The SSD uses TLC Nand flash type, which ensures high performance and reliability.
• SATA III Bus Type :With SATA III bus type, this SSD provides fast data transfer speeds and improved power efficiency.
• Support System: Windows 11 / 10 / 8 / 7 / Vista / XP / Vista, Linux v.2.6.x+, Chrome OS,c OS X
• Support Device: Computer/Laptop/Server
• About use: Need the necessary installation tools.
• Hardware Connectivity: SATA III 6.0 Gb/s, SATA II 3.0 Gb/s,SATA 1.5 Gb/s(compatible).
Safety: Dustproof,Shockproof.Fast heat dissipation
Weight: 34.3g. Size :100m*69.9mm*7mm
About capacity :
128GB Approximately 119 GB
256GB Approximately 238 GB
512GB Approximately 476 GB
1TB Approximately 930 GB
Vendors are using decimal arithmetic: 1MB = 1000KB, 1G = 1000MB calculated, but the operating system is using binary arithmetic: 1MB = 1024KB, 1GB = 1024MB. So there are some differences between display capacity and nominal capacity of flash memory products.
100% real capacity, via H2testw.(Please do not use cheap card reader or data cable to test the speed will be reduced due to low quality card reader or data cable.)
Notice:
1. Our Store offers 100% genuine products.
2. This products are in compliance with the Kodak official website.


 Imagem 1 de 6
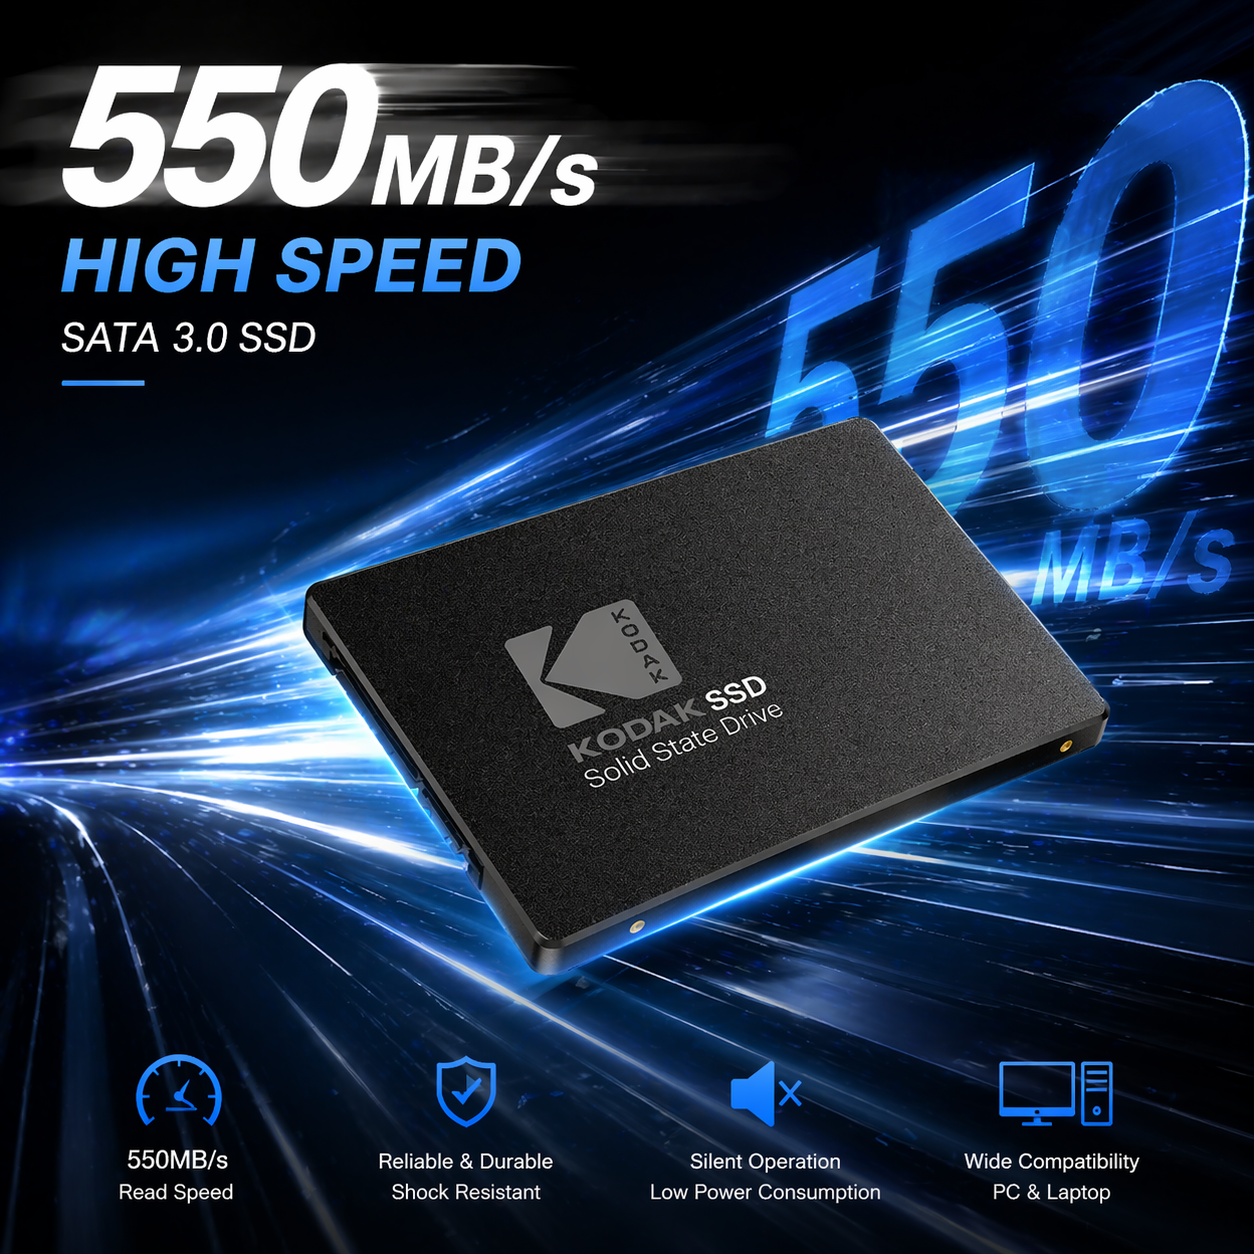 Imagem 2 de 6
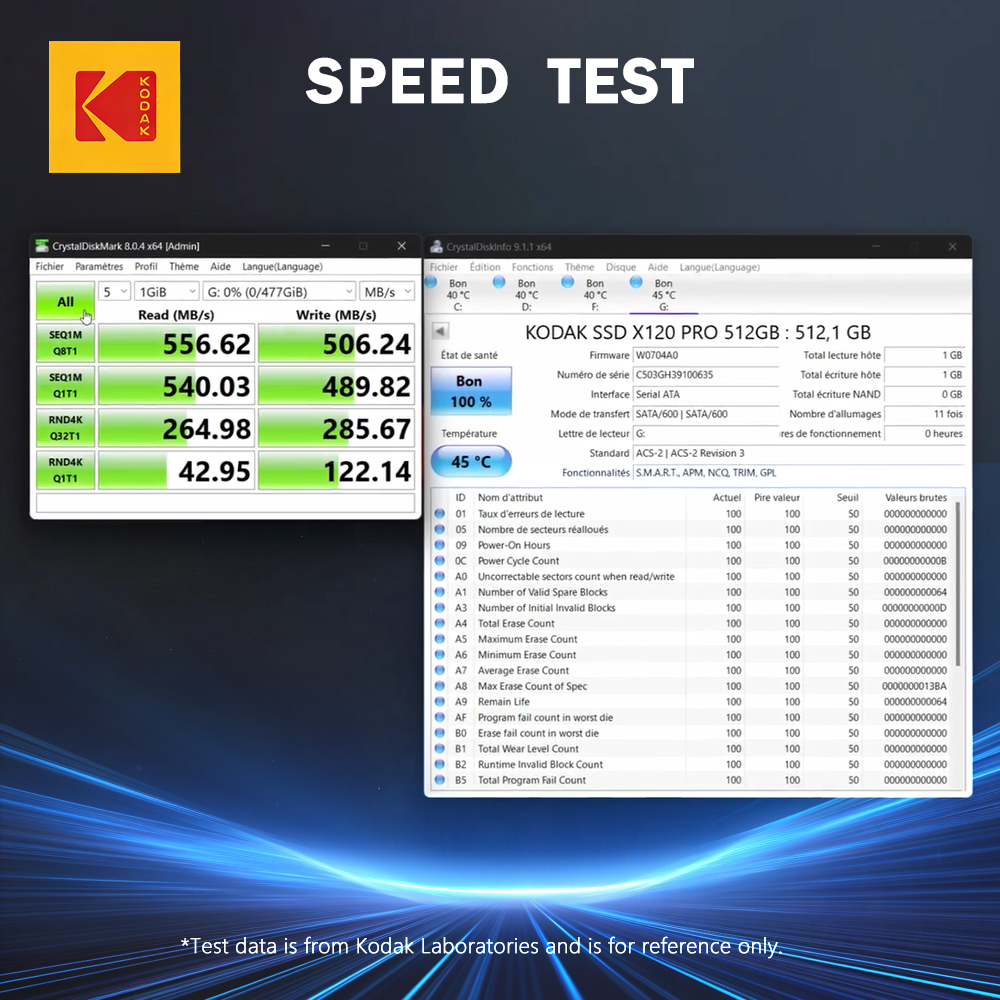 Imagem 3 de 6
 Imagem 4 de 6
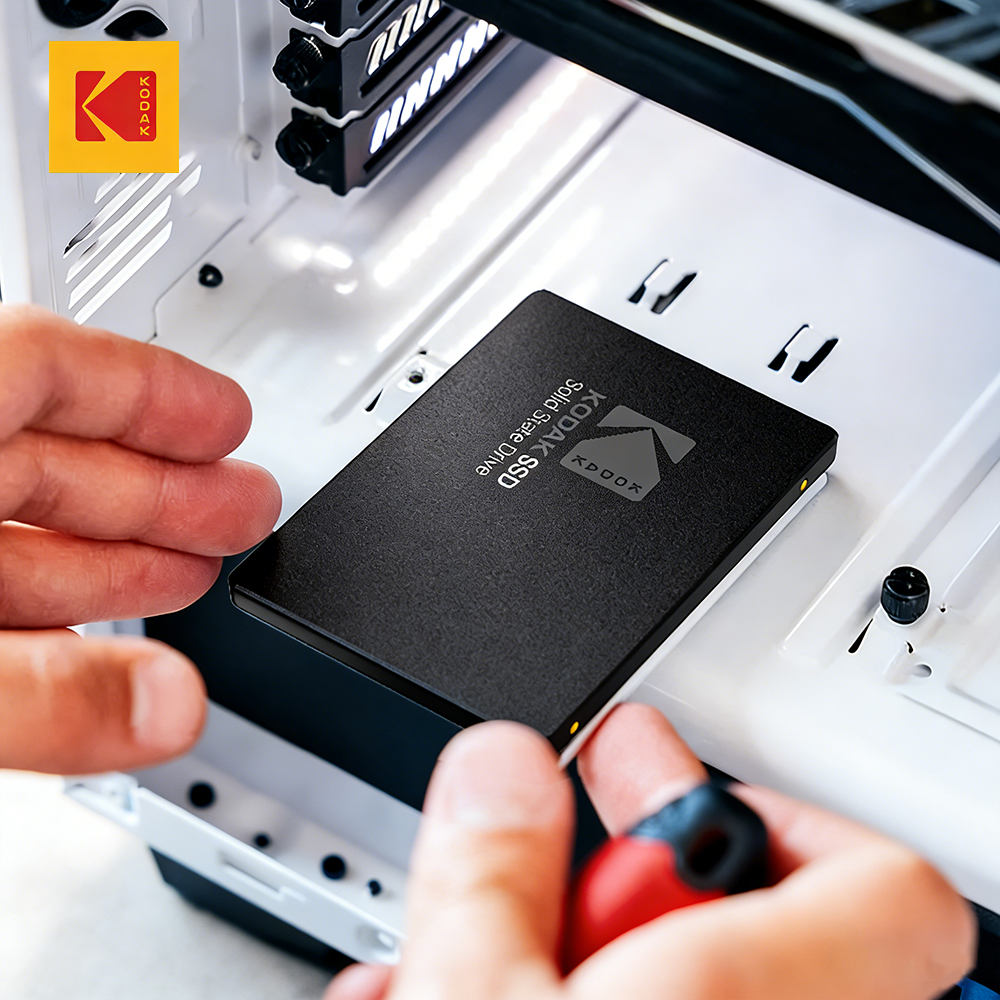 Imagem 5 de 6
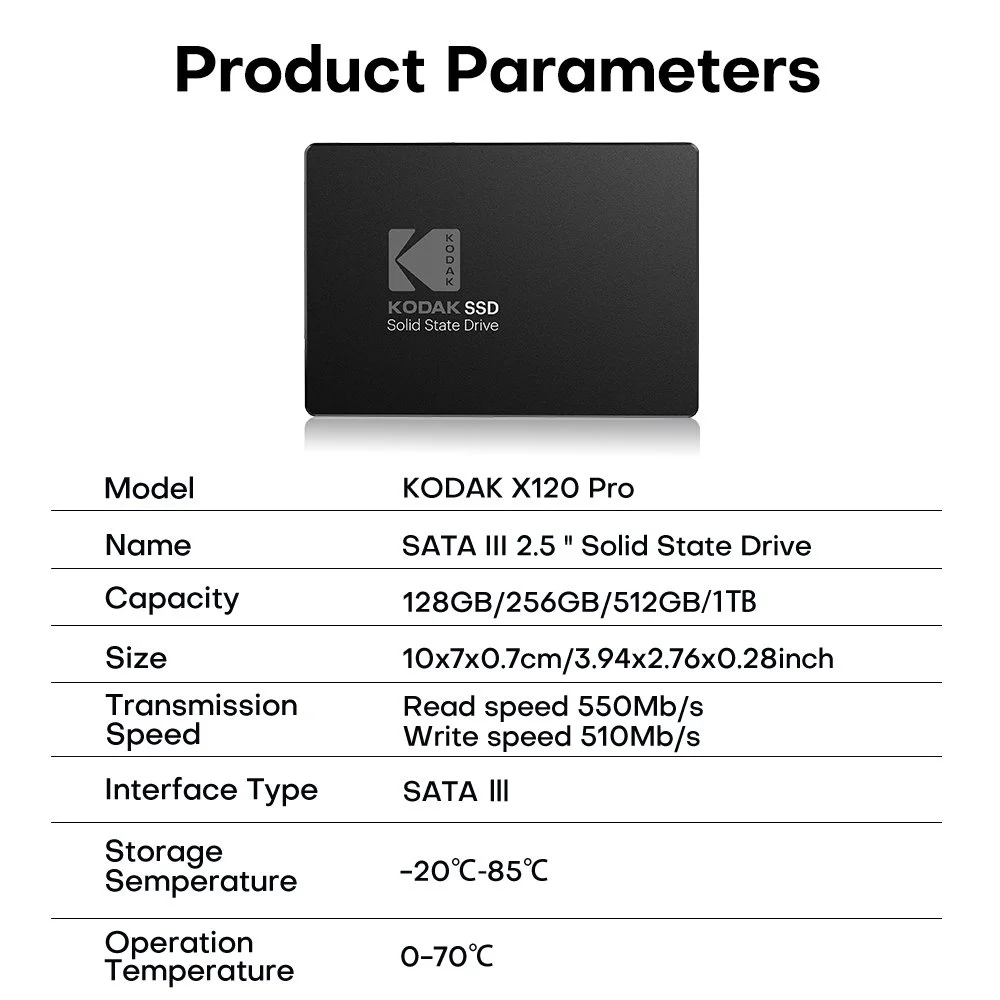 Imagem 6 de 6